1. Missing style sheet error when installing the theme
A common issue that can occur with users new to installing WordPress themes is a "Broken theme and/or stylesheets missing” error message being displayed when trying to upload or activate the theme.
This error message does not mean that the theme you have purchased is broken, it simply means it has been uploaded incorrectly.
After purchasing the Hyani theme, it’s recommended to download “All files & documentation” from Themeforest. Extract the downloaded .zip and save on your local computer.
These problem ussually caused by lack of import proccesed. Don't worry, it's easy to fix with few steps. Follow this steps to fix the problem.
III.1. Only Header and footer displayed.
Follow this steps to fix the problem.
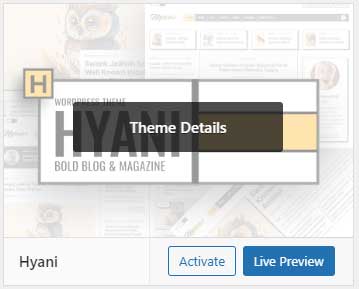
1. Switch your theme to WordPress default theme, for example Twenty Fifteen.
2. Do nothing.
3. Switch back your theme to Hyani.
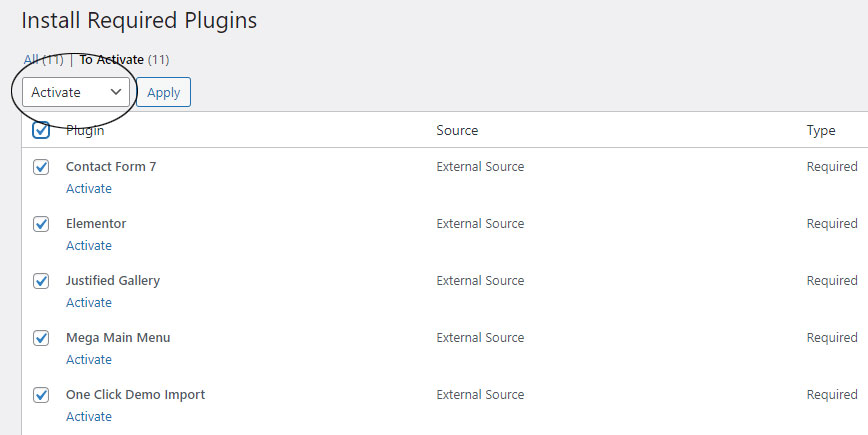
4. Activate all the required plugins.
5. Refresh your browser.
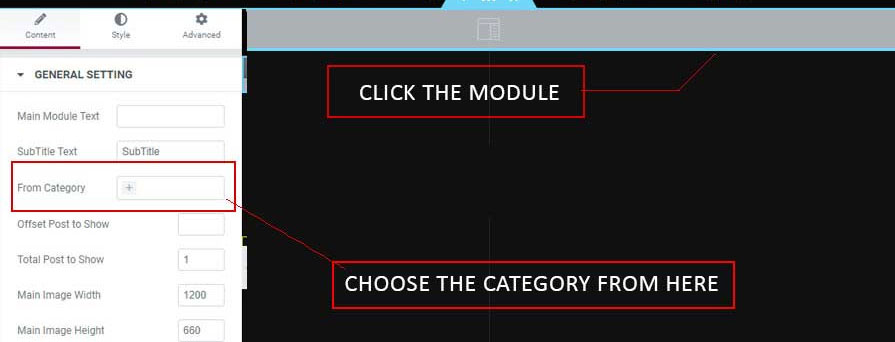
III.2. Modules on your frontpage displayed blank area.
The category did not defined correctly. Don't worry, you just need to define the category manually.
Follow this steps to fix the problem.
From your frontpage, click Edit button (the button only display if you login as administrator.)
Make sure to edit your page with Elementor.
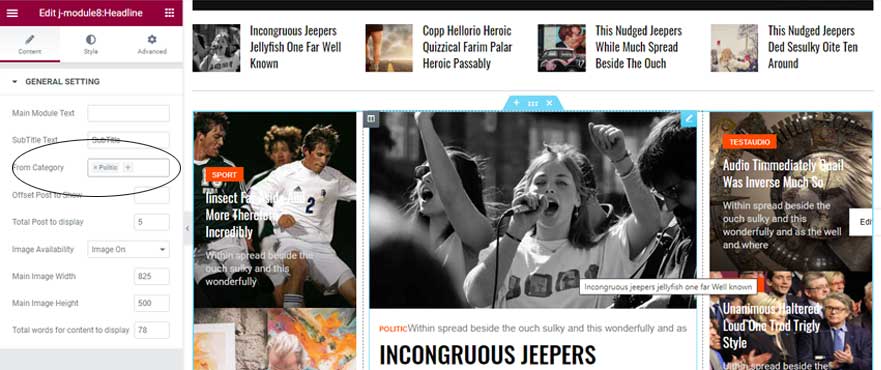
On the Elementor editing, click on the module, then choose the category.
The content will appear corrctly. Repeat these steps for other modules.
Save your work, then refresh your frontpage.
The next steps is defines the menu location.
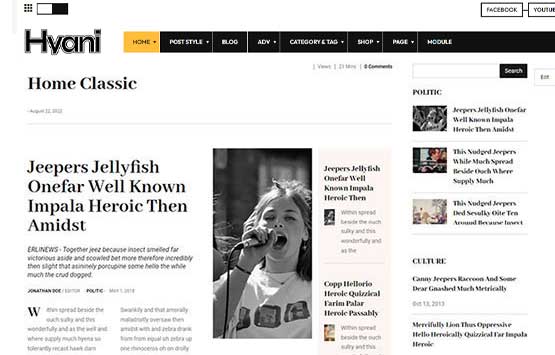
III. 3. Frontpage layout look weird
After import the demo data, your layout look weird like this:
By accident, import procces change the layout. Don't worry, that caused by the wrong page layout. You just need to setting bak the page layout with few simple steps.
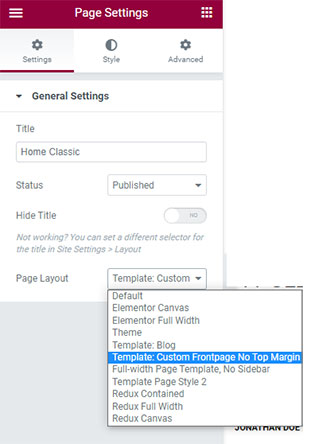
From your frontpage, click Edit button (the button only display if you login as administrator.)
Click Edit with Elementor button.
Scrolling down, on the left bottom of your page, click Setting icon.
From the slide up menu, choose the template name Template: Custom Frontpage No Top Margin.
Click Update button to save your change.
Refresh your web frontpage.
IV. SETTING UP MENUS
After theme and plugins ready, it's time to define the menu location to organised your navigation. Follow this steps:
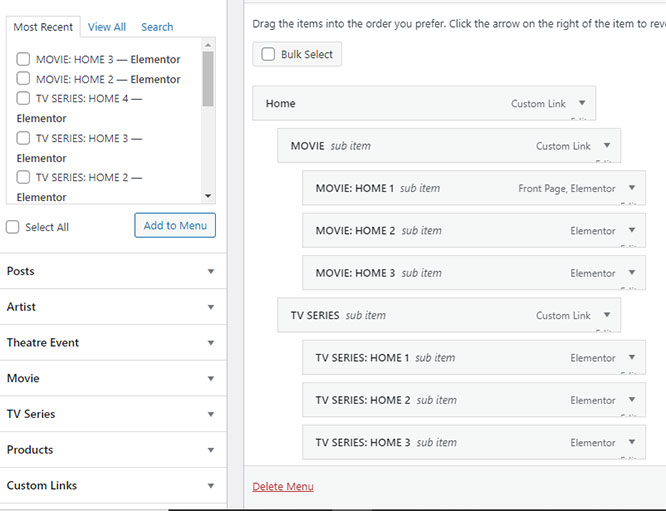
Go to Dashboard> Appearance> Menus
On the Menu page editor, drag the menu you want to display. Set the hierachy as you want.
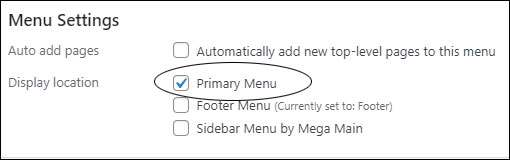
The next step is make sure to define the location.
This theme define 2 menu location (Primary and footer) so you need to repeat similar steps above to other location.
Click Save button. Refresh your frontpage.
Next steps is integrated Mega Main Menu to the theme, Follow this steps:
Go to Dashboard > Mega Main Menu
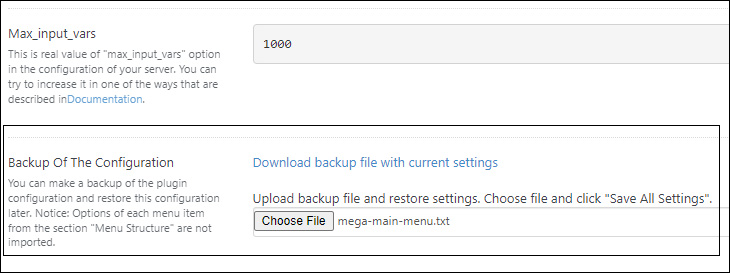
Click Specific Options tab, scrolling down till tou see Backup Of The Configuration area.
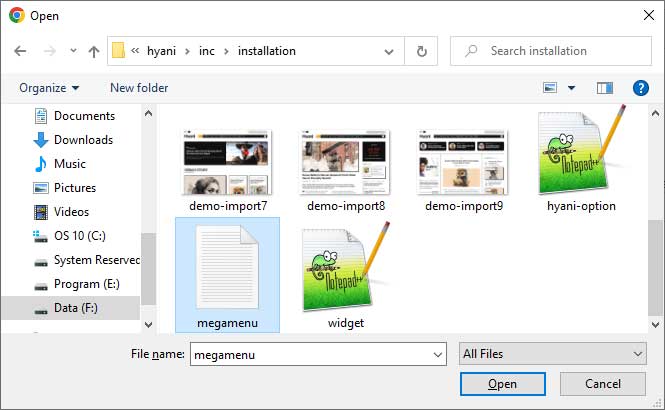
Click Choose File button. Search and choose file name mega-main-menu.txt on your theme(Hyani) > inc > installation folder.
Make sure you already choose the right file. Then click Save All Changes button on the right bottom of the page.
Refresh your frontpage.
SETTING UP THEME OPTIONS
Access the option panel by Navigate to Dashboard > Hyani Options.
You can customize your web appearance trought Hyani option:
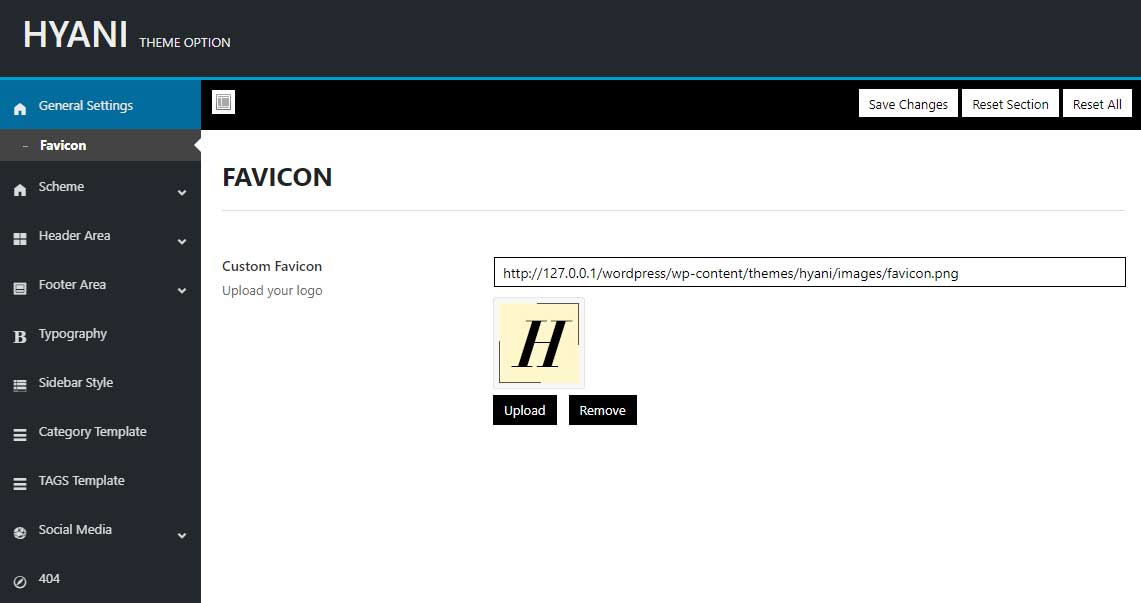
Fav. icon
Access from: Dashboard > Hyani Options> General Setting. Insert your own favorite icon as your web identity trough this section.
Header area: Logo, navigation style etc.
Access from: Dashboard > Hyani Options> Header Area. In this section you can setting up and modification of your header look.
Footer area: style and customize
Access from: Dashboard > Hyani Options> Footer Area. In this section you can setting up and modification of your header look.
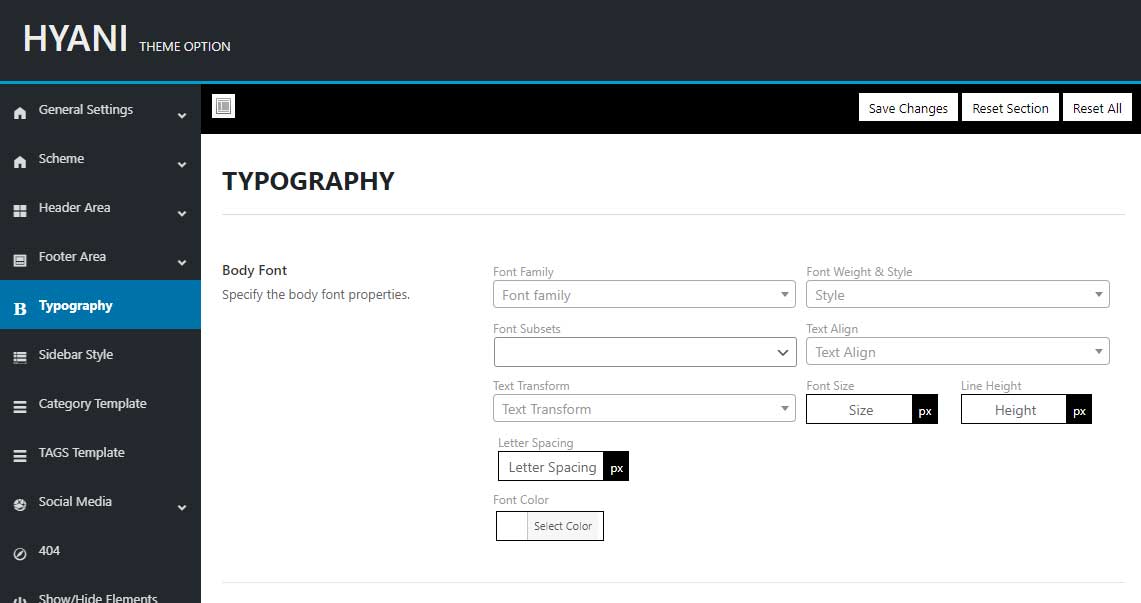
Typography
Access from: Dashboard > Hyani Options> Typography. Setting up the typography style for general part of your theme (single post title, category, tag, widget title.) Remember, for the part build from Elementor modules, tou can setting up from that's module itself.
Category style
Access from: Dashboard > Hyani Options> Category Template. Setting up how your category will be displayed. 6 style available, you can displayed different category with different style.
Tag Style
Access from: Dashboard > Hyani Options> Category Template. Setting up how your Tag will be displayed. 6 style available, you can displayed different Tag with different style.
404 page
Access from: Dashboard > Hyani Options> 404. Stylish your 404 page from this section. You can insert your own image and type tour own text.
TYPOGRAPHY
Depend on the area, you can setting up the typography in 2 ways:
Hyani option panel : typlography controling from Theme Option will affect to general location (single title, page title, widget title, body etc)
Access from Dashboard > Hyani Option. Then click Typography tab.
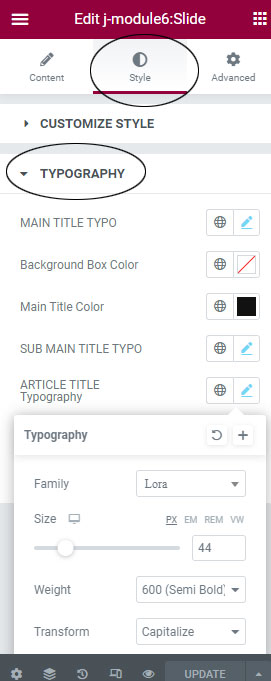
Elementor Editor. Typography on Elementor module handle directly from the Elementor editor page. Every module have their own typography setting. On the Elementor editor, click Style tab to setting the typography. Almost all typography on frontpage build by Elementor, handle from the module.:
THE MODULES
Hyani theme provided Custom Elementor add on. You can easily choose, insert and start to build your home Layout. Follow this steps:
Choosing Single Post Style
Hyani theme provided 4 single post style and 7 post format. You can easily choose your single post style. Follow this steps:
Open or create a post
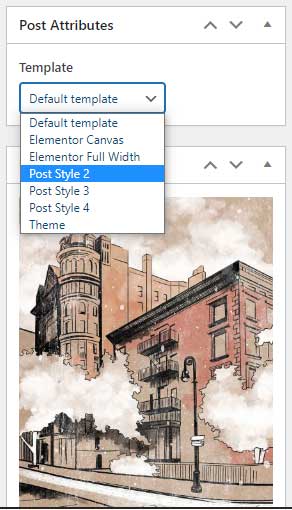
On the post page editor, scrolling down untill you see Template section. Click and from the drop dow you can see some templates. 6 of the template you can use for your post (Default Template and Post style 2 - Post style 6.)
Choose one of the template you want.
Setting Up The Category and Tag Style
Hyani theme provided 6 category layout and 6 tag layout. You can displayed your category and tag page with different style for each individually. Here how to setting up your category and tag layout
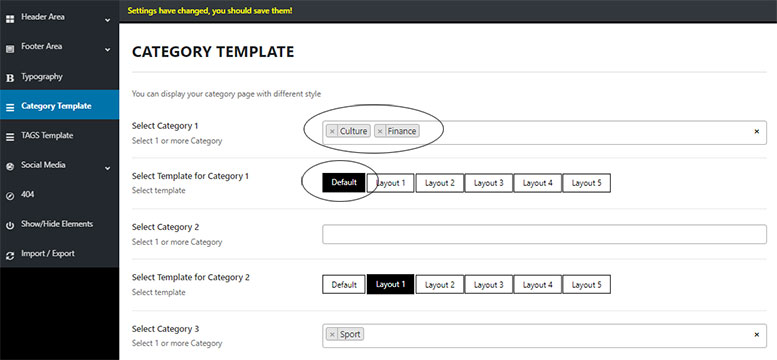
Go to Dashboard> Hyani Option> Category Template (or Tag Template.)
Choose the category (you can choose multiple categories) and choose the layout.
Click Save button.
Open your category page on browser..
Using Required Plugin
The list of required plugins, need for the theme to work perfectly.
Hyani Custom function
Hyani Elementor add-on
Hyani Widget
Mega Main Menu
Elementor Free.
Redux Framework
CMB2
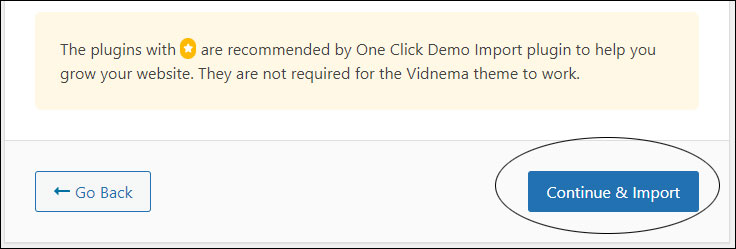
One Click Demo Import
Contact Form 7.
Weather Atlas Widget
Two of them (Contact form 7 and weather Atlas widget) use in front of layout. You can insert both of the plugin using their shortcode trough the elementor module.
Note: The contact form 7 module already available after you import the data. You just need to copy the shortcode and place it everywhere you want.
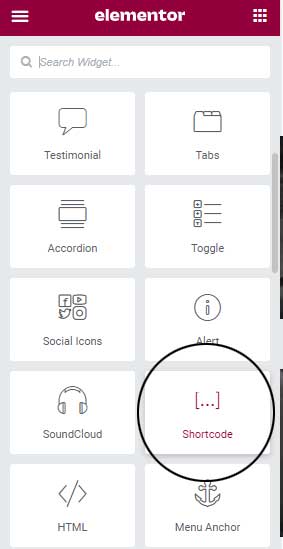
It's easy to insert the shortcode, follow this steps (in this tutorial use Contact Form 7.
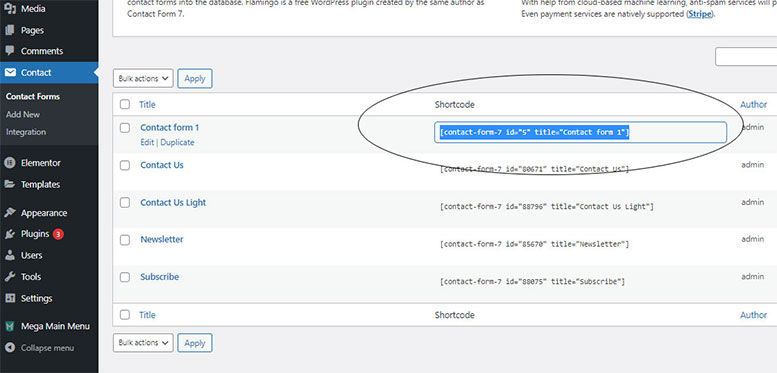
Open your Contact Form 7 template. Go to Dashboard > Contact> Contact Form.
Choose the form you want, then copy the shortcode.
Now for the next steps
Open your page that build with Elementor.
Make sure you already open the Elementor editor page
Click on General's tab
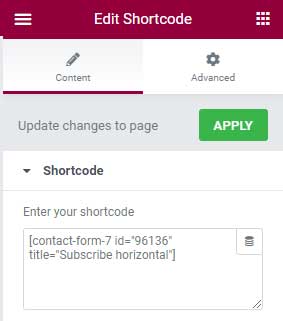
Insert the Shortcode.
Paste your contact form's shortcode in the box.
Click Update button to save your work.
Open your page on browser, the contact form will be appear.
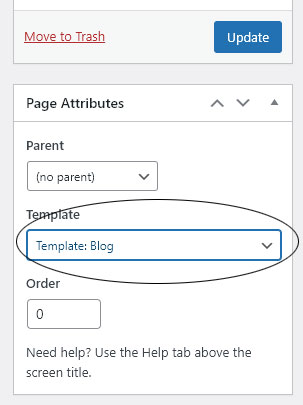
CREATE BLOG PAGE
You can create a blog page with the page template.
Click Dashboard > Pages > Add new.
Scroll down and you will see Template. Choose Template: Blog from the drop down.
Click Save button.
Preview your new page, you will have a new blog page.
From your menu setting, insert a new menu for your new blog page.
THEME SCHEME
Change your theme scheme
Click Dashboard > Hyani Option.
Click Scheme tab.
Choose the color or pattern scheme.
Preview your new page
Clicl Save Change button.
Watch the video:
Sources and Credits
I've used the following images, icons or other files as listed.
Demo images from : pixabay.com
Once again, thank you so much for purchasing this theme. As I said at the beginning, I'd be glad to help you if you have any questions relating to this theme.
Contact Us here.